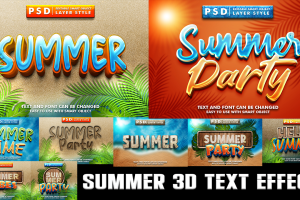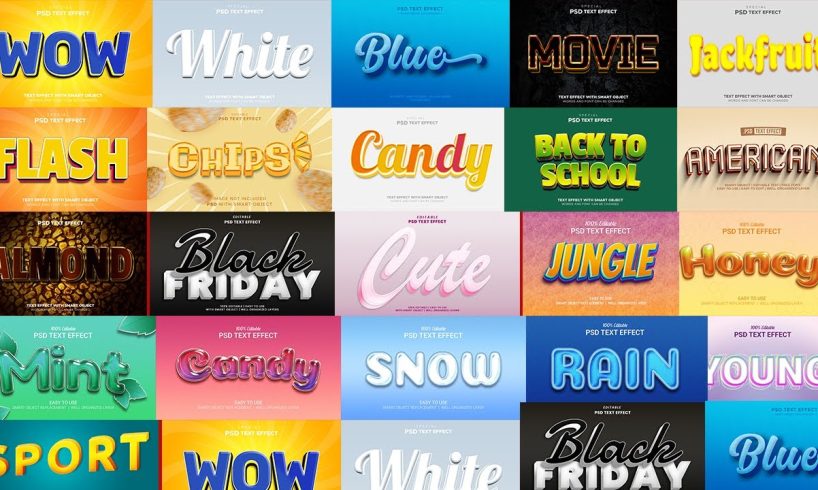
Hey guys! So, you wanna make a few cool 3-D text outcomes in Photoshop, huh? Well, you’re inside the right region! I’m gonna display you how to do it step-by-step. Don’t worry if you’ve never accomplished this before. I’m not a pro either, but we are able to learn together. Let’s jump proper in!
What You Need
Okay, before we start, here’s what you need:
Photoshop: Any model works, but more recent is better.
A Computer: Duh!
Patience: This may take a piece to get proper.
Step 1: Open Photoshop and Create a New Document
Alright, open up Photoshop. Click File > New or press Ctrl N. A container will pop up. Set the dimensions to 1000×1000 pixels. Make the heritage white. Click OK. Easy peasy!
Step 2: Type Your Text
Now, let’s upload some textual content. Click at the Text device (it looks as if a T) or just press T. Click in your canvas and sort something. Maybe your name or “Hello” or something. Make it big enough to peer. Change the font and length in the pinnacle bar if you need.
Step three: Rasterize Your Text
Next, we need to rasterize the text. This method turning it into a shape we can paintings with. Right-click for your text layer in the Layers panel and select Rasterize Type.
Step four: Duplicate the Layer
Now, make a copy of your text layer. Click in your textual content layer and press Ctrl J. You’ll see a new layer seem inside the Layers panel. Cool, right?
Step five: Offset the Text
Here’s where the 3-D magic starts. Click on your new textual content layer and use the arrow keys to nudge it a few pixels down and to the right. This creates a shadow-like effect.
Step 6: Change the Color of the Bottom Layer
To make it pop, we want to trade the shade of the bottom layer. Click at the original textual content layer (the one at the lowest). Go to Image > Adjustments > Hue/Saturation or press Ctrl U. Slide the Hue slider to exchange the shade. Pick some thing that stands proud from the top layer.
Step 7: Merge the Layers
Now, permit’s merge the two textual content layers together. Click at the pinnacle text layer, maintain Shift, and click on the lowest textual content layer. Both layers should be highlighted. Right-click and pick out Merge Layers.
Step 8: Add Some Shadow
Shadows make everything appearance cooler. Go to Layer > Layer Style > Drop Shadow. Play round with the settings until you get a shadow you want. Adjust the gap, unfold, and size to make it appearance simply right.
Step 9: Save Your Work
Almost accomplished! Save your work by going to File > Save As. Choose a location on your computer and shop it as a PSD file so you can edit it later in case you need.
Extra Tips
Try Different Fonts: Some fonts appearance higher in 3-d. Experiment with some to peer what you want.
Use Gradients: Adding a gradient on your textual content could make it appearance even cooler. Go to Layer > Layer Style > Gradient Overlay and pick out a gradient.
Play with Colors: Don’t be afraid to strive different colorations. Sometimes unexpected mixtures look the satisfactory.
What’s Next?
This is just the beginning! In the subsequent element, we’ll dive into greater superior techniques like including textures and lighting consequences. But for now, practice what you’ve discovered. Try making exclusive words and phrases in 3D. The extra you practice, the higher you’ll get.
So, that’s it for now. Thanks for following along, and I hope you had amusing growing 3-d text consequences in Photoshop. Stay tuned for Part 2, wherein we’ll take things to the following level. Happy Photoshopping!
DOWNLOAD HERE
Featured Image Credit: Graphics Wonderland (Youtube Channel)