Creating eye-catching birthday party flyers can be a game-changer when it comes to inviting guests and setting the tone for your event. In this blog post, we’ll guide you through the process of designing stunning birthday flyers using Photoshop, a powerful tool for both beginners and seasoned designers. With these step-by-step instructions, you’ll be able to craft flyers that not only capture attention but also convey the right mood and details for your celebration.
Getting Started with Photoshop
Before diving into the design process, ensure you have the latest version of Adobe Photoshop installed. If you’re new to Photoshop, spend some time familiarizing yourself with its interface and basic functions. There are plenty of free resources and tutorials available online to get you up to speed.
Step 1: Set Up Your Canvas
- Open Photoshop: Launch the program and select ‘New’ from the File menu.
- Set Dimensions: For a standard flyer, set your canvas size to 8.5 x 11 inches (or 2550 x 3300 pixels) with a resolution of 300 dpi. This ensures high-quality print output.
- Color Mode: Choose CMYK color mode for print or RGB for digital use.
Step 2: Choose a Background
- Solid Color or Gradient: Select the Paint Bucket tool (G) or Gradient tool (G) to apply a background color. Soft pastel gradients often work well for birthday themes.
- Textures and Patterns: For a more dynamic background, consider using textures or patterns. You can find free textures online or create your own by manipulating brushes and filters.
Step 3: Add Graphics and Illustrations
- Download Graphics: If you have pre-made graphics or illustrations, such as balloons, confetti, or birthday cakes, import them into your canvas. Websites like Freepik and Shutterstock offer great resources.
- Custom Illustrations: Use the Pen tool (P) to create custom shapes and illustrations. This allows for a unique, personalized touch.
Step 4: Incorporate Text
- Add Text Boxes: Use the Text tool (T) to create text boxes for your flyer. Typical text elements include the event title, date, time, location, and RSVP details.
- Font Selection: Choose fonts that align with the theme of your party. For a child’s birthday, playful fonts like Comic Sans or Chalkboard might be appropriate. For an adult’s party, consider elegant fonts like Garamond or Helvetica.
- Styling Text: Enhance your text with effects such as drop shadows, strokes, or glows. These can be added through the Layer Styles menu (double-click on the text layer).
Step 5: Add Photos
- Insert Images: Import photos that you want to include in the flyer. This could be a picture of the birthday person, previous parties, or themed images.
- Editing Photos: Use Photoshop’s editing tools to enhance your photos. Adjust brightness, contrast, and saturation to ensure the images are vibrant and clear.
Step 6: Final Touches
- Layer Management: Organize your layers properly, naming each one for easy reference. Group related layers together to keep your workspace tidy.
- Check Alignment: Ensure all elements are well-aligned. Use guides and grids to maintain symmetry and balance.
- Proofread: Double-check all text for spelling and grammatical errors.
Step 7: Save and Export
- Save Your Work: Save your project as a PSD file to preserve layers for future edits.
- Export for Print: Export your flyer as a high-quality PDF or JPEG for printing. Go to File > Export > Export As and choose the desired format.
- Export for Digital: For digital distribution, reduce the file size by exporting as a PNG or JPEG optimized for web use.
Sharing Your Flyer
Now that your flyer is ready, you can print it out or share it digitally through social media, email, or event planning platforms. For a professional touch, consider using online printing services that offer various paper options and finishes.
Free Photoshop Templates
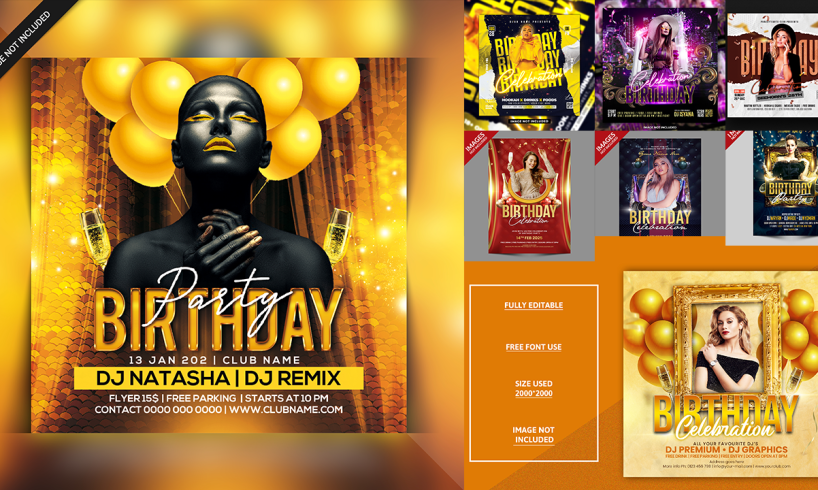
To make your design process even easier, we’re offering free Photoshop templates that you can download and customize. These templates are designed to be versatile and user-friendly, ensuring you can create beautiful birthday flyers quickly and efficiently.
Download Free Templates Here
Conclusion
Designing birthday party flyers in Photoshop is a fun and rewarding project that allows you to showcase your creativity. By following these steps, you’ll be able to produce professional-quality flyers that will impress your guests and make your event stand out. Remember, the key to a great flyer is a clear, engaging design that conveys all the necessary information while capturing the spirit of the celebration.
Whether you’re designing for a child’s birthday party, a milestone celebration, or a themed event, Photoshop gives you the tools to create memorable and effective flyers. Happy designing, and may your birthday party be a huge success!
Featured Image Credit: Graphics Wonderland (youtube channel)