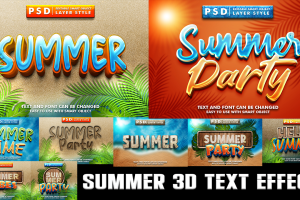
Hey there! Are you ready to create some awesome 3D text in Photoshop? This tutorial is super easy and perfect for beginners. We’re going to use PSD templates to make our text pop out of the screen. By the end of this, you’ll be able to impress your friends with your amazing new skills. Let’s dive right in!
Step 1: Get Your Stuff Ready
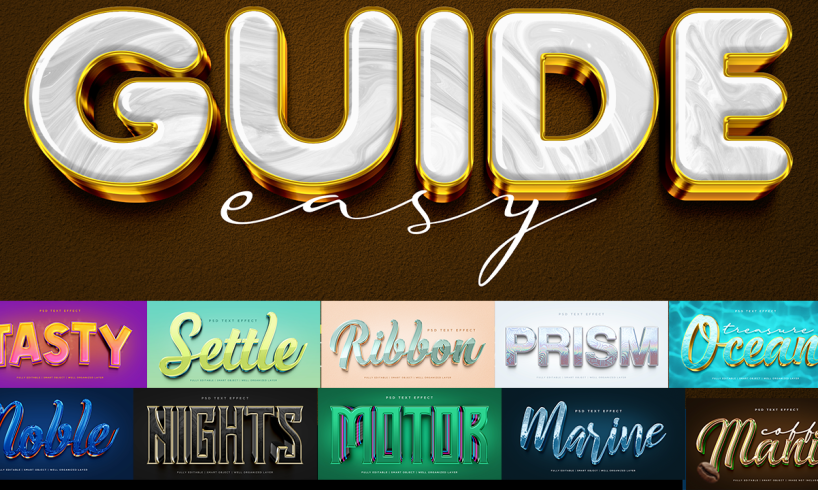
Before we start, you’ll need Photoshop installed on your computer. Also, download some cool PSD templates for 3D text effects. You can find lots of free ones online. Once you have everything, open Photoshop and let’s get started!
Step 2: Open Your PSD Template
- Open Photoshop and go to File > Open.
- Find your PSD template and open it. You should see a bunch of layers and effects already set up.
Step 3: Add Your Text
- Select the Text Tool (it looks like a “T” on the toolbar).
- Click anywhere on the canvas and type your text. Choose a bold font so your 3D effect stands out.
- Use the Move Tool (it looks like a cross with arrows) to position your text where you want it.
Step 4: Apply 3D Effect
- Right-click on your text layer in the Layers Panel.
- Select Blending Options. A new window will pop up with lots of options.
- Check the box next to Bevel & Emboss. This will give your text some depth.
- Play around with the settings until you like how it looks. Try adjusting the Depth, Size, and Soften sliders.
Step 5: Customize the Look
- Now, let’s add some color. In the same Blending Options window, check the box next to Gradient Overlay.
- Click on the gradient bar to choose your colors. You can pick any colors you like!
- Adjust the Angle and Scale sliders to change how the gradient looks on your text.
Step 6: Add Shadows and Highlights
- Still in the Blending Options window, check the boxes next to Drop Shadow and Inner Shadow.
- Adjust the settings to add some realistic shadows. This makes your text look more 3D.
- For highlights, check the box next to Inner Glow and pick a light color.
Step 7: Fine-Tune Your Text
- Use the Move Tool to make sure your text is in the perfect spot.
- If you want, you can go back into the Blending Options and tweak the settings until your text looks just right.
Step 8: Save Your Work
- Go to File > Save As.
- Choose a name for your file and save it as a PSD so you can edit it later.
- If you want to share your creation, save it as a JPEG or PNG.
Bonus Tips
- Experiment with Different Fonts: Try using different fonts to see how they look with the 3D effect.
- Play with Colors: Don’t be afraid to try bold and bright colors. They can make your text really stand out.
- Use Multiple Layers: You can duplicate your text layer and apply different effects to each one for a more complex look.
Conclusion
hat’s it for Part 1 of our 3D text effect tutorial! Now you know how to create cool 3D text in Photoshop using PSD templates. In the next part, we’ll dive deeper and explore some advanced techniques to make your text even more amazing. Keep practicing and have fun with it!
And here’s a little bonus for you: I’m offering a free Photoshop template that can help you get started. Just download it, open it in Photoshop, and you’ll be ready to go! See you next time!
DOWNLOAD HERE
Featured Image Credit: Graphics Wonderland (Youtube Channel)